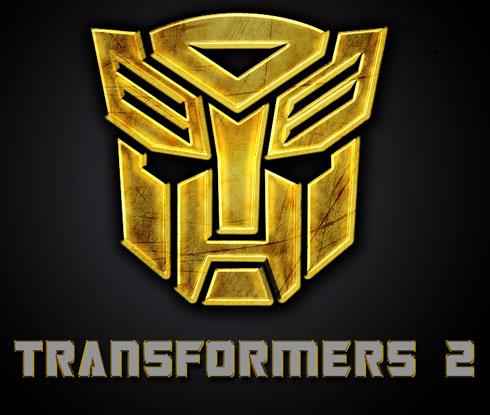
In this tutorial I am going to show you some cool tricks to get some awesome custom wallpapers. First we need to find our subject, I chose Transformers 2: Revenge of the Fallen movie, because they were my favorite cartoon and still are the coolest toys ever.
Let’s create a new file (File>New) of 1280x1024 px and 72 dpi. Using the Paint Bucket Tool (G)
Paint Bucket Tool (G).  The Paint Bucket tool fills adjacent pixels that are similar in color value to the pixels you click.'); return false">Paint Bucket Tool (G), it’s possible to give the new file black color. The Paint Bucket tool fills adjacent pixels that are similar in color value to the pixels you click.'); return false">Paint Bucket Tool (G), it’s possible to give the new file black color.

Set the next parameters for the made layer: Blending Options>Gradient Overlay
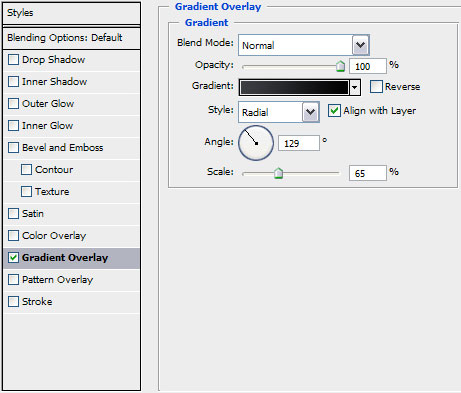
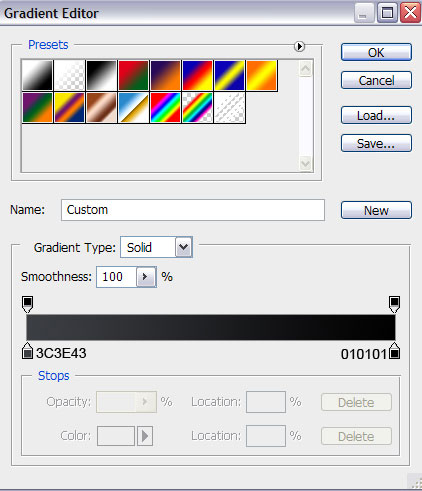
Gradient’s parameters:

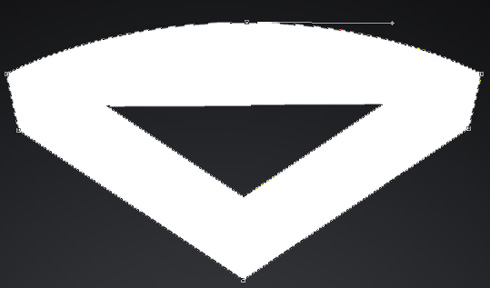
Next we’ll try to draw the face of a robot transformer. In this case we’ll select the Pen Tool (P)
Pen Tool (P).  allows you to make lines that change colour and shapes on the project.'); return false">Pen Tool (P) and the Convert Point Tool for the necessary corrections. All the elements have white color. allows you to make lines that change colour and shapes on the project.'); return false">Pen Tool (P) and the Convert Point Tool for the necessary corrections. All the elements have white color.


Make a copy of the last made layer and select Free Transform option to turn over the copy, situating it the same way shown below:

For the next element we’ll choose the same tools indicated above:


Make a copy of the last made layer containing the new element and select again Free Transform option to turn over the copy, placing it the way indicated below:


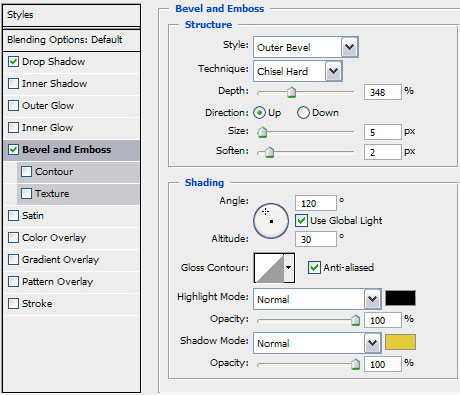
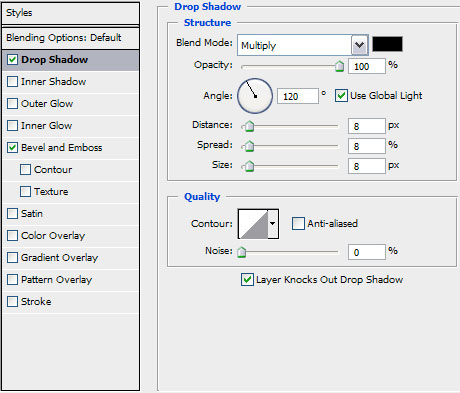
Now we must put together all the elements composing the robot’s head into a single rasterized layer. In this case we’ll just press Ctrl button, mark out the corresponding layers and then press Ctrl+E. The new layer will need the next demonstrated parameters: Blending Options>Drop Shadow

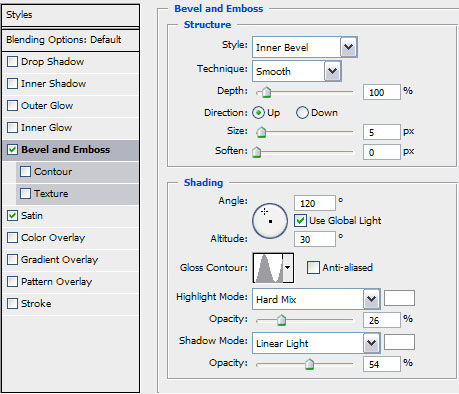
Blending Options>Bevel and Emboss

Next make a copy of the rasterized layer containing the transformer’s head and select again the Paint Bucket Tool (G) to fill each element with the color #FFD528. Change also the parameters of the copy’s layer: Blending Options>Bevel and Emboss
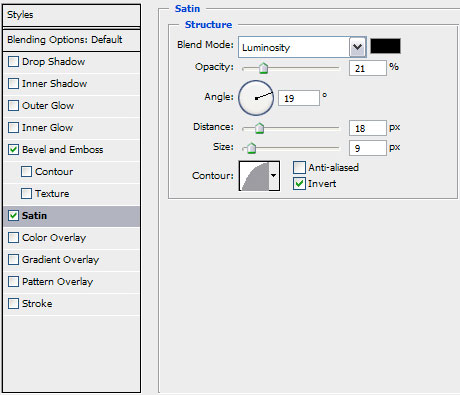
Blending Options>Satin

Create a new layer again which must be painted with black color, selecting for this operation the Paint Bucket Tool (G).

Choose for this layer the selection from here: Filter>Render>Clouds
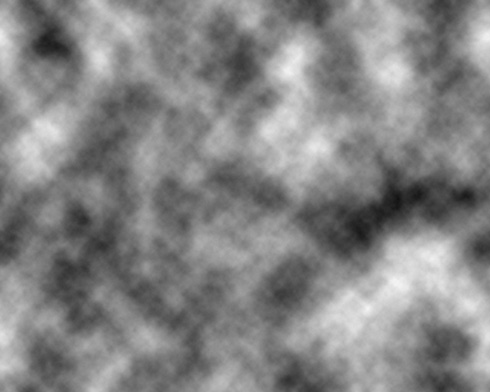
… and also Filter>Sharpen>Unsharp Mask


The last layer needs the parameters from next image: Blending mode-Soft Light

Press Alt button while making a mouse click between the layers containing the clouds’ effect and the top layer belonging the transformer’s head (on the layers’ panel).


Create a new layer again on which we’ll apply a standard brush of black color with the Opacity of 80% for darkening out the transformer’s eyes. This layer must be situated above the background’s layer, but lower than the layers composing the head of the robot:


Next step includes downloading a set of ready to use brushes for Adobe Photoshop, named: Scratchy_grunge. Create a new layer on which we’ll just apply these brushes, choosing for them black color.


Make a mouse click on the same layer on the bottom part of the layers’ panel on Add a Mask selection and choose the usual Brush Tool (B)
Brush Tool (B).  The brush tool is used for making good backgrounds and also on new layers they have different types so that you get a different effect with every brush you use.'); return false">Brush Tool (B) of black color to move off very attentively the coming outside parts of brushes on the head’s edges: The brush tool is used for making good backgrounds and also on new layers they have different types so that you get a different effect with every brush you use.'); return false">Brush Tool (B) of black color to move off very attentively the coming outside parts of brushes on the head’s edges:


Set the next shown parameters for the same layer: Blending mode-Overlay

Now it’s time to introduce the text on our picture. The text’s layer needs to be placed above the background’s layer, but lower than the layers composing the transformer’s head (use this font):


The layer’s parameters: Blending Options>Drop Shadow
Blending Options>Bevel and Emboss

Make a copy of the layer containing the clouds’ effect and place this copy above the text’s layer:


Do the next demonstrated manipulations for the copy for it to be applied only for the text (press Alt button while making a mouse click between the layers). Set also the next shown layer’s effects: Blending mode-Vivid Light Blending Options>Gradient Overlay

Gradient’s parameters:

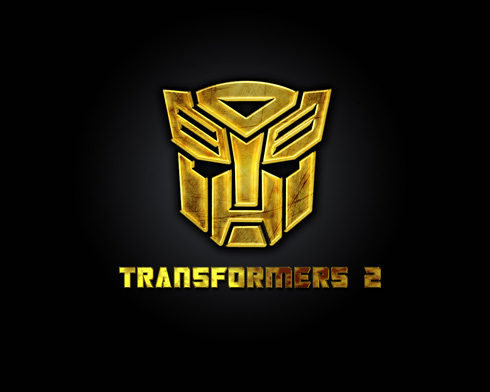
The final result!
View full size here.Label: Photoshop Tutorial |


