Intro
I may not be a Justin Timberlake fan (although the I Think That She Knows interlude is pretty awesome), but I can appreciate the stunning graphics in his music video for LoveStoned. This tutorial will be teaching you how to replicate some of the amazing lighting effects using in the video using nothing but good old Photoshop.
You can view the original music video here: http://www.youtube.com/watch?v=GIYXHLlxD8U
Final Image
This is the final image that we will be creating:

Step 1
Create a new document (1024 X 768 px) and fill it with black.
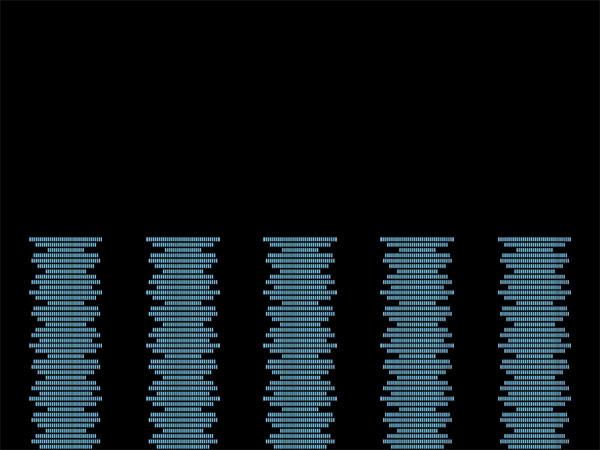
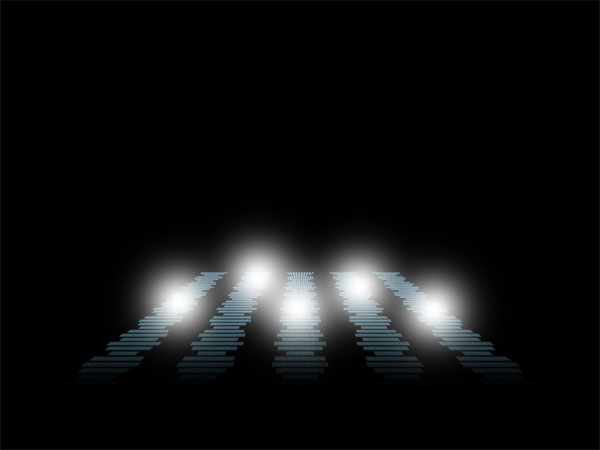
Step 2
Paste in an image of a volume equalizer. I found this image from here (http://www.sxc.hu/photo/1016857). I selected the black background of the image using the magic wand tool and deleted it (despite it matching our main background). Then I click in the area surrounding the equalizer image and invert my selection so that only the rectangular shapes making up the equalizer image are selected. Then I fill this selection with light blue (80D2FC). To save my using the paint bucket tool and filling each rectangle shape, I create a linear gradient ranging from 80D2FC to 80D2FC at 100% and then just drag from the top to the bottom of my selected equalizer to fill all the rectangles. Finally I duplicate this layer, and go to edit>transform>flip vertical, then move the flipped image so that it mirrors the original.


Step 3
I merge my original/flipped equalizer images and then rotate the new layer by 90 degrees. Then I copy and paste this image multiple times, fitting each together until I have a very long equalizer image. I merge all layers, and resize the final image so that I have something like the image below:

Step 4
Now I duplicate my equalizer image, and go to edit>transform>scale. I use the transform options bar to move my duplicate image 200px to the right of my original - this way I can be very precise instead of needing to use the grid of judging it by eye.


Step 5
Now I use the same technique to move my duplicate image 200px to the right. I then go back to my original equalizer image and move this 200px to the left, and then repeat this step again to move another duplicate a further 200px left. Then I merge all of my equalizer layers.
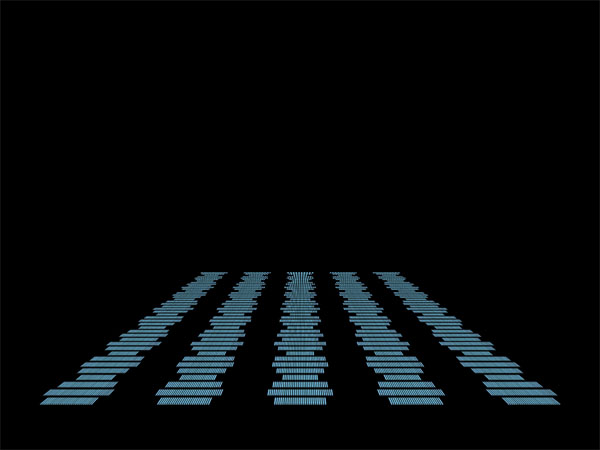
Step 6
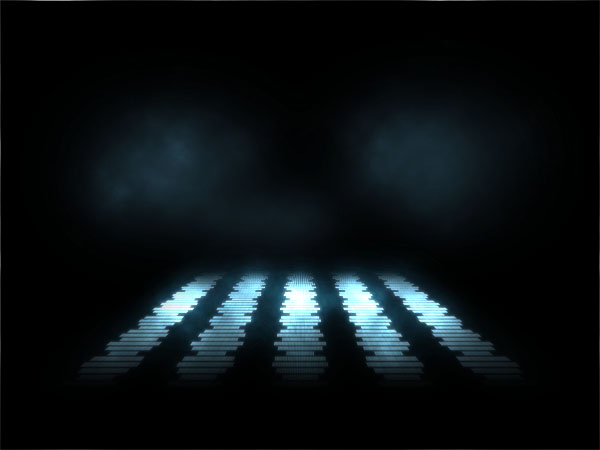
Then I go to edit>transform>perspective and drag one of the top corners of my image towards the center until I’m happy with the result. Then go squash my image vertically, as the bars were looking a little too fat and I wanted them thinner. Finally I moved my image up so that the bottom of the bars weren’t touching the bottom of my document.
Step 7
I go to layer>add layer mask>reveal all, and then drag a black to transparent linear gradient upwards, to fade out the bottom of my equalizers.

Step 8
Now I grab a large, soft, white brush and make some markings on a new layer above my equalizer layer. Then I set the layer’s blend mode to overlay. The result is a nice subtle lighting effect over my equalizers.

Step 9
Now select your equalizer layer and apply the outer glow settings shown below. Then reduce your equalizer layer’s opacity to around 50%.


Step 10
Now duplicate your equalizer layer, and move the duplicate below the original. Apply a 50px gaussian blur, and then set the layer blend mode to ‘hard light’ and reduce it’s opacity to around 30%.

Step 11
Now select your layer mask on the original equalizer layer and fade out the top of your equalizer.

Step 12
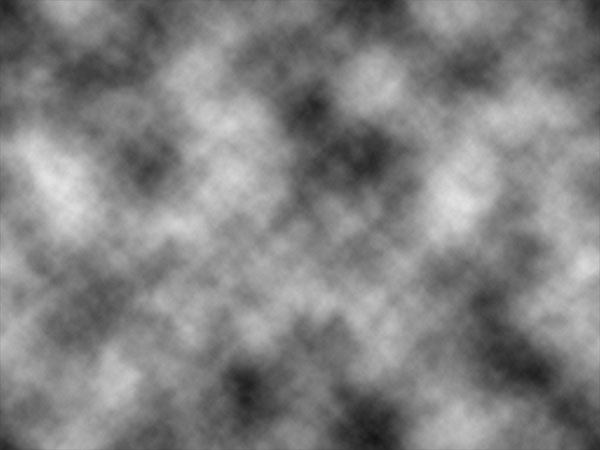
Now create a new top layer called ‘clouds’. Select all and fill it with black. Then go to filter>render>clouds. Set the layer blend mode to ‘color dodge’.

Step 13
Duplicate your clouds layer and you should get a much more intense effect. Then select your equalizer layer and select around your equalizer shapes using the magic wand tool. Then invert your selection so that the equalizers are selected. Return to your second cloud layer and hit delete, then reduce the opacity of this duplicate cloud layer to 10%. You should have an eerie looking mist around the ends of your equalizers. It’s looking pretty good so far, but the clouds have created an effect similar to the outer glow. The problem with this is that where the equalizers fade out near the bottom of the images the clouds are too obvious, and create a strange outline. We want this outline near the tops of our equalizers, so simply select a large, soft eraser brush and brush away around the bottom of the equalizers on both of your cloud layers.

Step 14
Create a new layer. Now grab your paintbrush, and set it to a large size, 0% hardness and 100% opacity and paint in some large spots of light (color: 77D1FF). Then reduce this layer’s opacity to 30%.

Step 15
Now duplicate your original cloud layer and move it above your large paintbrush layer. The layer blending mode should still be color dodge. Then reduce your paintbrush layer’s opacity to 20% and your cloud layer’s opacity to 45%. To get rid of the circular outlines from your low opacity brush markings, go to filter>blur>motion blur and apply a motion blur of around 200.

Step 16
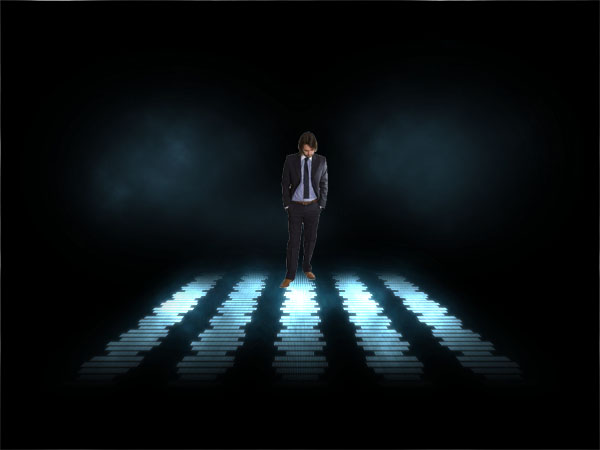
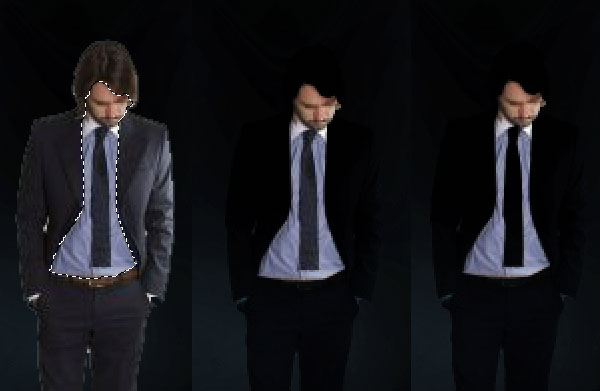
Now paste an image of a man standing up into the center of your image. I found my image here: http://www.sxc.hu/photo/912668. Cut out the man using the magic wand tool or lasso tool. Then change the layer’s blending mode to ’soft light’ and use a large, soft eraser brush to erase away his feet, letting him subtly merge into the equalizers.

Step 17
Now duplicate your man photo layer and change the layer blending mode back to normal. Then select around the light parts of the photo, in this case his face and shirt. Then with this area selected invert your selection and hit delete, deleting the rest of the image surrounding his face/shirt. Then finally select his tie and delete this. The parts that you have deleted will allow the dark ’soft light’ layer to show through.
Step 18
Now with your light areas of the man photo layer selected go to image>adjustments>desaturate. Then apply the color balance settings shown below:


Step 19
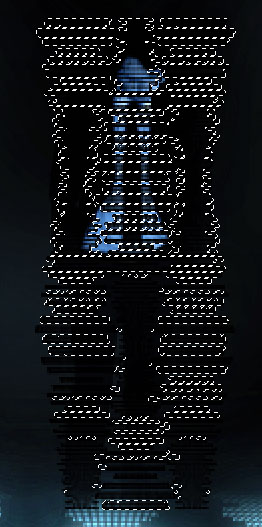
Now go back to your original equalizer layer and select the middle bar using the lasso tool. Copy it onto a new top layer above your man photo layer and resize it so that it is about 30% of the height of your man. Then duplicate this layer multiple times, going to edit>transform>flip vertical, and positioning the images until they completely cover your man.

Step 20
Now merge all of your duplicated small equalizer layers together, and go to image>adjustments>brigthness/contrast and make your brightness -100 and contrast +100 to make your equalizer images black. We want a rough selection that follows some of the shape of these small equalizer images, but currently the image is too blurry to select around it well. To fix this I go to filter>sharpen more and then use the magic wand tool with 50 tolerance to select roughly around some of the shapes. Then I invert my selection and hide my small equalizer layer. The trick now is to delete this selected area from your man photo layer and light face/shirt layer. However, too much of each layer would be deleted if you simply hit delete - for instance you want to retain most of the face. Therefore use the eraser brush, set to around 20% opacity to erase some areas of this selection more than others. I erased the face very little, but erased the man’s shirt quite a lot. Then I selected the original man photo layer and erased some of the edges of his suit, leaving other parts untouched.


Step 21
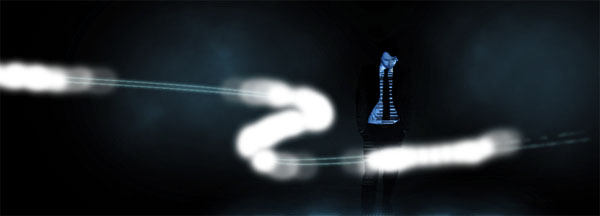
Now create a new top layer and use your path tool to draw a winding path across your man. Making sure that your current brush is 1px in size, 100% hardness and B6FEFE color with your path tool selected right click on your path and click ’stroke path’. Then I go to edit>transform>scale and reduce the height of my path a little to squash it down. Finally I duplicate this layer and move the new layer a few pixels beneath the original. I reduce the width of the duplicate path line layer so that the lines are slightly different and distinct.


Step 22
I merge my two line layers together and then apply the outer glow settings shown below. Then I grab a large, soft eraser brush and fade out the right edge of both lines. I reduce the layer’s opacity to 80%.


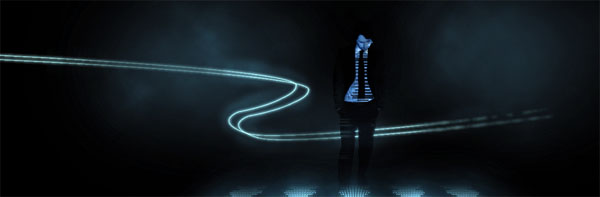
Step 23
I use the edit>transform>scale tool to squash my lines vertically a little more, and the move my line layer beneath my man photo layer. Then I delete the parts of the lines that are showing through my man’s legs, making it appear that they are now traveling behind him. Now I create a new layer above my pen lines layer and using my paintbrush paint some white brush strokes over certain parts of my lines. I reduce the opacity of my brush to fade out the edges of these white brush marks subtly. Then I set this layer’s blend mode to ‘overlay’, giving the lines a nice lighting effect.

And We’re Done
Click the finished image below to see the full-sized version.